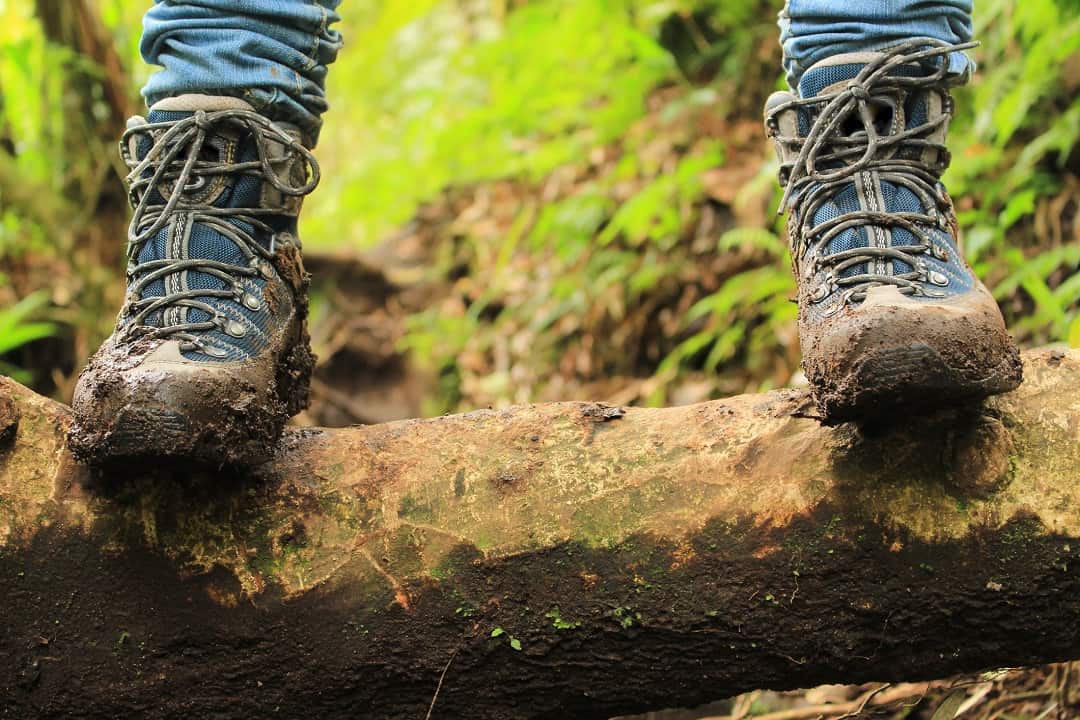
I was on a trip in Guatemala when I noticed a strange black sand accumulating around my hiking boots. “Volcanic ash,” I told myself, shrugging it off. Over the next few days, the sand continued to appear, and coincidently, my boots seemed to get less and less stable.
Turned out, it was not volcanic ash — it was dry rot. Over the course of a few days, the rubber cushioning of my boots literally disintegrated from underneath me. I ended up with copious amounts of duct tape holding the soles to the leather uppers, praying they would last through the trip (they did not).
Lesson learned, and a good lead into a discussion on the proper care of hiking boots and shoes.
I reached out to Beth Rutledge, a footwear specialist at the Alpine Shop in St. Louis, to get her insight on how hikers can maximize the lifetime and performance of their beloved footwear.
Her opening statement: “Mud is your enemy! Brush your boots off after every hike.” Rutledge recommends using a retired vegetable scrubber, an old toothbrush, or even a fingernail brush — something with bite but not a lot of abrading power. This prevents dirt from getting into the crevices and corroding the outer and/or corrupting waterproof membranes.
Also be sure to get any rocks out of the crevices in the sole; this will help prevent the sole from cracking.
Brushing your boots is also important to prevent the transport of invasive species, says Rutledge. Tiny bugs and microscopic organisms in the soil can attach to boots via dirt and mud. Thus, it has become more common to see footwear brushing stations at trailheads nationwide. Use these both before and after your hike.
If your boots get really dirty, it’s a good idea to rinse them thoroughly with warm water to get all the excess off. But first things first: “Take the insoles out!” Rutledge exclaimed. This aids in airing out the boot and allowing it to dry completely.
“Hand wash [the laces] with a dish detergent,” she continued, “but do not use the detergent on the boot.” Common soaps and detergents have chemicals that may affect the leather or synthetic uppers and can have an adverse effect on GoreTex and other waterproof membranes. “It can break the membrane down, or worse, clog the pores,” said Rutledge.
Instead, use solutions specifically intended for the purpose. Brands like Nikwax, Grangers, and Gear Aid offer a wide range of products for cleaning boots and maintaining their performance, from soap and waxes to waterproofing sprays.
After rinsing the boot off, she advises using waterproofing first, as it typically gets applied while the boots are wet. Then, proceed with using any approved cleaning solutions.
As for how often boots need “re-waterproofing,” it depends. “New boots shouldn’t need it the first season or two, but an avid hiker would be wise to treat their boots with a waterproofing agent one to two times a season to prolong the life of the footwear,” said Rutledge.
Great, so we’ve cleaned and maintained the exterior. How about the interior?
“Shake everything out. Get all the small pebbles and as much sand out as possible,” Rutledge said. A damp micro-fiber cloth can get dust and smaller particles out. In extreme cases, she recommends using a hand-held vacuum attachment to ensure everything is removed.
“Waterproofing can be damaged from the inside of the boot, as well,” Rutledge said. “It is imperative to get everything out of the boot.”
So, now your boots are clean, but they’re sopping wet. What’s the best way to dry them? Here’s one thing not to do: “Do not put your boots in the dryer,” Rutledge said. “The heat of the dryer can destroy the waterproof lining in your boot, not to mention damage the boot itself.”
Another no-no: hair dryers. Again, the extreme and direct heat can damage the lining and boot. Instead, “Stuff your boots with old towels, paper towels, or even old newspaper,” she said. “These will absorb the moisture in the boot and help them dry more quickly, along with helping the boot maintain its shape.”
Electric ski boot dryers also work; they are designed to heat up and thus aid evaporation inside the boot without getting so hot they damage the interiors. A small space fan aimed at the boots will help evaporation. Placing boots in direct sunlight is OK for drying purposes.
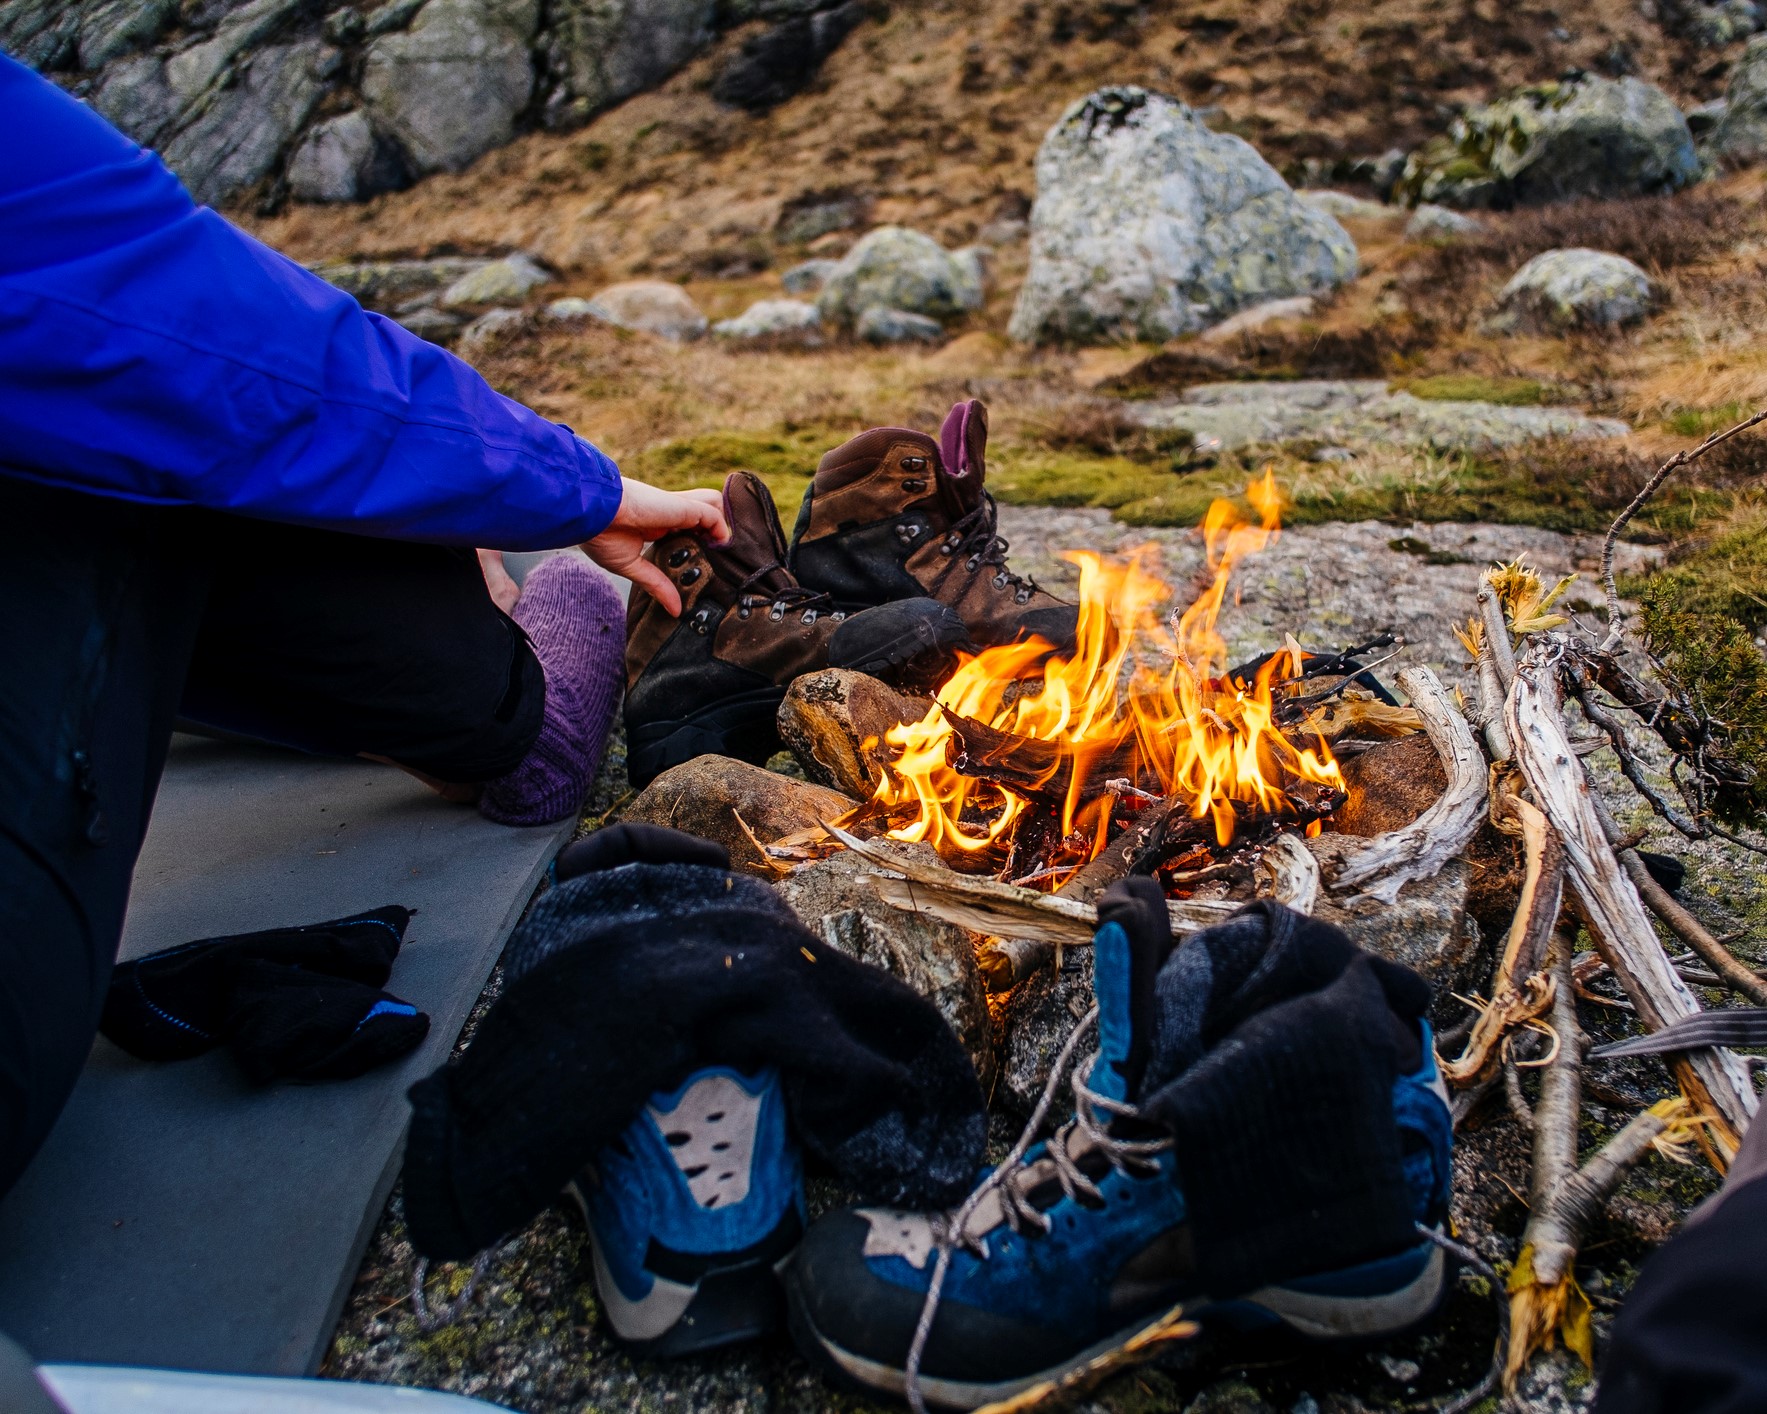
Hikers drying their boots by a campfire.
Placing your wet boots next to a campfire is OK for drying purposes, as long as they’re not too close. A good guideline is to station them where you can just slightly feel the warmth of the fire — and be sure to rotate them every 10 to 15 minutes. Never place your boots in the fire!
What about my earlier problem: dry rot? “Frequent use and proper maintenance will prevent dry rot,” said Rutledge. The moisture from the trail and the cleaning techniques discussed here will keep the rubber from drying out.
“Don’t leave your boots in a hot car for a long time. Don’t store them in your garage, which can get very hot and humid and very cold and dry. Be sure to store your boots in a cool, dry place,” she said.
As an avid hiker, I know how attached I get to my boots. Proper care and maintenance will prolong the life of the boot, but eventually, even the most well cared for boots wear out. “Ultimately, it’s the age of the boot and miles on the trail that determine the life of the boot,” Rutledge noted.
That said, implementing the tools and techniques discussed here will help extend the life of the boot, meaning many more miles on the trail — for you and your favorite footwear.
Author: Nick Tilley is a regular contributor to Terrain Magazine.
Leave A Comment