
If there’s one skill that every camper should possess, it has to be fire-starting. Whether you want to cook a hot meal after a long day on the trail or roast marshmallows with the kids, there’s no more essential part of the outdoor experience. Knowing how to build a fire can provide ambiance and enjoyment — and it’s also a crucial lifesaving skill in survival situations.
In this article, we’ll cover the basics on how to bring flames to life and then provide some pointers on how to make the task less taxing.
The Basics
First and foremost, you need a safe place to build your fire in order to reduce the likelihood of the blaze spreading out of control. Most established campsites have a fire ring or pit, even in the backcountry. Use it!
If you’re establishing your own campsite, find a rock slab, dig a shallow pit, or create a ring of rocks around the area where you plan to build your fire — or any combination of the three. Be sure to stay away from low-hanging branches and dry underbrush.
The next thing you’ll need is wood, preferably dry and “seasoned” (as opposed to freshly fallen or “green”). Dry, seasoned wood burns much better than wet, green wood and will make your life easier when it comes time to light you fire.
Kindling, or tinder, will help get the flames going. You can use small sticks, dry grass, pine needles, wood shavings, newspaper, cardboard — anything that burns easily.
As for actually constructing your blaze-to-be, there are two classic entry-level options:
- The Log Cabin. Create a square structure in the center of your fire ring, starting with two parallel logs as the base. Add two logs set at right angles on top of the base. Insert your kindling in the middle of the “cabin” and continue to lay logs two until you have three to four layers. Place a final layer of logs on the top to form a “roof” for your cabin, leaving plenty of air space.
- The Teepee. Like above, start with two parallel logs placed in the center of your fire ring. Lay your kindling between them in a small pile. Stand three or four sticks on the ground and lean them against each other to form a teepee structure over the kindling. Add twigs and sticks until you have filled in your teepee, leaving plenty of air space.
Lastly, you need a method of starting your fire: matches, a lighter, or anything that will create a spark. Ignite the kindling and make sure you have plenty of wood close at hand to feed the fire; add progressively larger pieces of “fuel” as it grows.
Pro Pointers
Fire needs oxygen to burn. Build your fire in a well-ventilated area, with good airflow around the base. Place your kindling under/inside the “airy” parts of the structure. This will allow it to burn more effectively, setting the larger logs ablaze.
Once the fire begins to burn, fan the flames to feed the fire oxygen. This will help the larger logs catch. An unused plate works well; just keep away from the flames and never blow directly into the fire with your mouth. It’s possible you could inhale smoke and pass out.
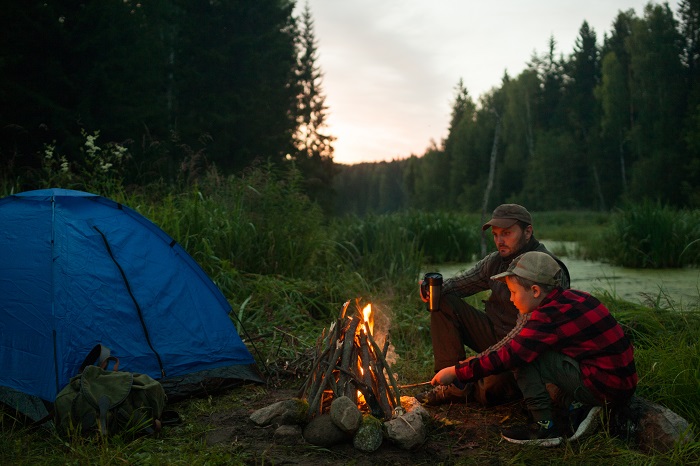
Ensure your tent is a good distance away from the fire. As the wood burns, sparks can pop and fly at random. Even the smallest spark is able to put a hole in your tent.
Cook over the embers, not the flames. Embers are the hottest part of the fire, providing even heat. Break down large chunks to create a bed of smaller embers.
Need to build a fire in the rain? Hang a tarp or rain fly at an angle well above the fire pit so that it blocks the precipitation while avoiding direct heat. Make sure the runoff from the tarp doesn’t douse the fire.
Always follow local fire protocol. During dry seasons, parks may enforce burn restrictions to minimize the chance for wildfires. Also, there are sometimes regional firewood restrictions to mitigate wood-borne pest infestations. Check with local park authorities prior to your trip to get the most up-to-date info.
Author: Nick Tilley is a regular contributor to Terrain Magazine
Leave A Comment