
When it comes to backpacking destinations in Missouri, the Bell Mountain Loop near Belleview is routinely at the top of my list — and an ideal place for hikers taking their first steps into overnighting.
An 11.8-mile “lollipop” through the Bell Mountain Wilderness, the trail consists of a moderate hike (1,683 feet of elevation gain) traversing the oak, elm, pine, and hickory-forested St. Francois Mountains. The route culminates in scenic views overlooking the rolling hills of the Mark Twain National Forest.
An accessible, invigorating hike amid beautiful surroundings, it’s no wonder the Bell Mountain Loop has garnered a great reputation among hiking enthusiasts. Just ask Jerry Liberstein; he’s backpacked the trail several times himself. A retired schoolteacher and current camping specialist at REI St. Louis, Liberstein touts the destination as one of the best overnighters around.
“It has everything a good backpacking trip should have: a demanding hike, changing scenery, and a great view from the campsite,” he said. “It’s a perfect setup for an overnight backpacking trip.”
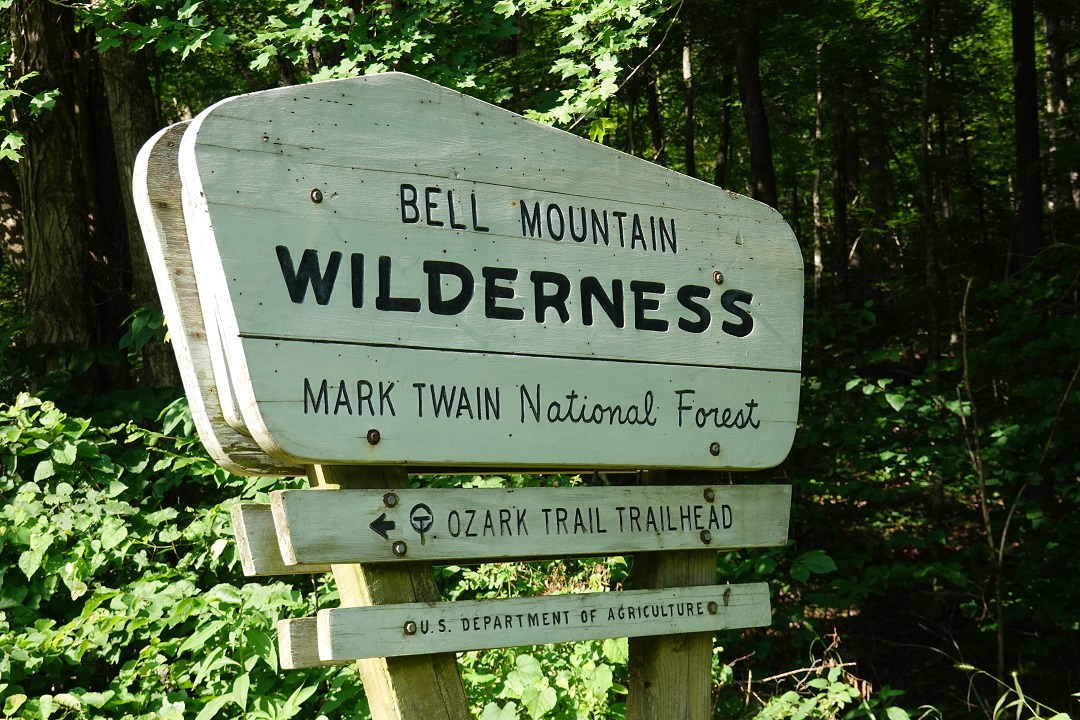
The 9,143-acre Bell Mountain Wilderness is roughly 70 miles south of St. Louis, making it a manageable drive for an overnight trip. The parking area is located on the west side of Highway A just a few miles south of its intersection with Highway 32. (Note: the “Bell Mountain Wilderness” sign is opposite the parking lot, while the actual trailhead is IN the parking lot.)

Bell Mountain Loop.
As mentioned previously, this is a lollipop configuration — a stem attached to a loop. From the trailhead at the north end of the parking lot, the first 2 miles follow a section of the Ozark Trail (OT). The path gradually ascends through spacious woods, open glades, and rocky outcroppings.
At 2 miles, the OT intersects with the 1-mile connector trail that leads to the 5.8-mile Bell Mountain Loop. The intersection is evident and well-signed. To get to Bell Mountain, stay left.
From this point, it’s another slight climb along the connector to the loop intersection, where it becomes decision time: clockwise or counterclockwise? There are pros and cons to each, and the choice is essentially about how much water you have.
The pros of hiking clockwise include passing a fairly reliable water source in Joe’s Creek, allowing water reservoirs to be refilled (bring filtration!) and knocking out two additional miles on Day 1, thus making Day 2 shorter and easier. The cons? It’s a longer and more difficult route to the campgrounds — a 4.3-mile hike down into and up out of the watershed as opposed to a 1.5-mile subtle climb in the counterclockwise direction. Also, the creek may be dry. “It’s best to carry enough water for your entire adventure from the get-go,” advised Liberstein.
The pro of going counterclockwise is a shorter and easier hike on Day 1, meaning more time to enjoy the evening. The cons are 1) having to carry more water on the hike up — enough to see yourself through the 5-mile hike, dinner, and the start of the next day (don’t forget to calculate cooking water if you plan on doing dehydrated meals) and 2) a longer and more difficult hike back to the car on Day 2 if you decide to complete the loop. (An easier option on Day 2 is to retrace your steps back to the loop intersection and head towards the trailhead, foregoing closing the loop.)

View from the top of Bell Mountain.
Whichever direction you choose, you’ll eventually arrive at the campsites atop Bell Mountain. These are primitive sites; they’re not organized in any particular fashion, though the majority of them are apparent. There are a few in the wooded area just beyond the clearing at the summit, but the best sites are those situated among the rock outcroppings with unobstructed views of the surrounding hills. Campsites are first-come, first-serve, so options may be limited by the number of people already at the top. That said, there are several sites along the rocks with nooks and crannies where you can comfortably pitch your tent.
Most of the sites have fire rings (use them). You’ll have to scavenge for wood — a camping saw or hatchet and a pair of gloves can be useful. Be sure to extinguish all embers prior to turning in for the evening (account for fire-dousing in your water calculations).
Once you’ve found your site and set up camp, sit back, relax, and enjoy the beauty and solitude of Bell Mountain. If it’s a clear night, you’ll be in for a show; the stars are incredible. Set your alarm early enough to be up for sunrise — one of the best in all of Missouri.
Overnighting Essentials
- Sun protection (hat, sunscreen, lip balm, sunglasses)
- Knife or multi-tool
- First-aid kit
- Headlamp and/or flashlight
- Tent/shelter and sleeping bag
- Lighter, matches, or other method to start a fire
- Map/GPS and directions
- Trash bag (carry everything out)
- Insect repellent
- Toilet bag (trowel, toilet paper, hand sanitizer/wipes)
- Extra food
- Extra water (or filter/purification method)
- Extra clothing (preferably synthetic, moisture-wicking), rain jacket, etc.
Additional Upgrades
- Lightweight stove and fuel
- Cooking utensils
- Camp saw or hatchet
- Lightweight chair or sit pad
- Lightweight camp shoes
Author: Nick Tilley is a regular contributor to Terrain Magazine.
Leave A Comment